TRARO compared with the native Revit Walkthrough
Everything you can do with the Revit Walkthrough, TRARO does faster — and then keeps going. The point-by-point path you already know is in the Path Editor, without having to step into every frame to correct it. On top of that come 15 computed movements, a visual style system of your own, and color grading of the final video.
The hand-drawn path, without the handwork
In the Revit Walkthrough you draw the path in plan, clicking point by point, and then step into each key frame to fix where the camera is looking. That second step is what eats the afternoon: Revit's interpolation does what it can, and the jolts show up exactly where you did not place enough points.
TRARO's Path Editor does the same thing, with the same freedom, but draws a smooth curve between your points and computes the easing for you. You mark where the camera goes and where it looks; the rest is solved.
video pending
And on top, the 15 movements
Here there is no equivalent. For the shots that repeat in every presentation — the establishing orbit, the ascent that reveals the scale, the push in on a detail, the closing shot — there is nothing to draw: you pick the movement and TRARO computes it from the view you already framed.
The path closes exactly on your framing, with the easing in and out already solved. It is the difference between building a shot and choosing one.
Side by side
| Revit Walkthrough | TRARO | |
|---|---|---|
| Price | Included with Revit | Free version with watermark · full licence USD 39, one-time |
| Where it runs | Inside Revit | Inside Revit |
| Point-by-point path | Yes, click by click plus the target on every key frame | Yes, in the Path Editor, with the curve and the speed solved |
| Preset movements | None | 16, computed from your view |
| Smoothness | Depends on where you placed the key frames | Computed easing in and out |
| Preview | Frame by frame | Live, over the model |
| Visual style | Whatever the view has | Whatever the view has, or your own TRARO VIZ Signature |
| Color grading | None | TRARO LOOK: contrast, shadows, grain, vignette |
| 9:16 vertical | By cropping afterwards | Native, with an on-screen framing guide |
| Output | AVI or image sequence | MP4 or frame sequence |
| Taking it to a render engine | Manual | Exports to Enscape, Twinmotion and D5 Render |
| If it is interrupted | Start over | Resumes from the last recorded frame |
The practical difference is the time to the first video you can actually show. In the Walkthrough that means several rounds of moving points and previewing again. In TRARO it is two or three controls and a live preview.
Can you use both?
Yes, and they do not compete: TRARO does not touch Revit's walkthrough views and does not modify the model. You can keep your saved walkthroughs and still record shots with TRARO from the same 3D views.
What the Walkthrough cannot give you
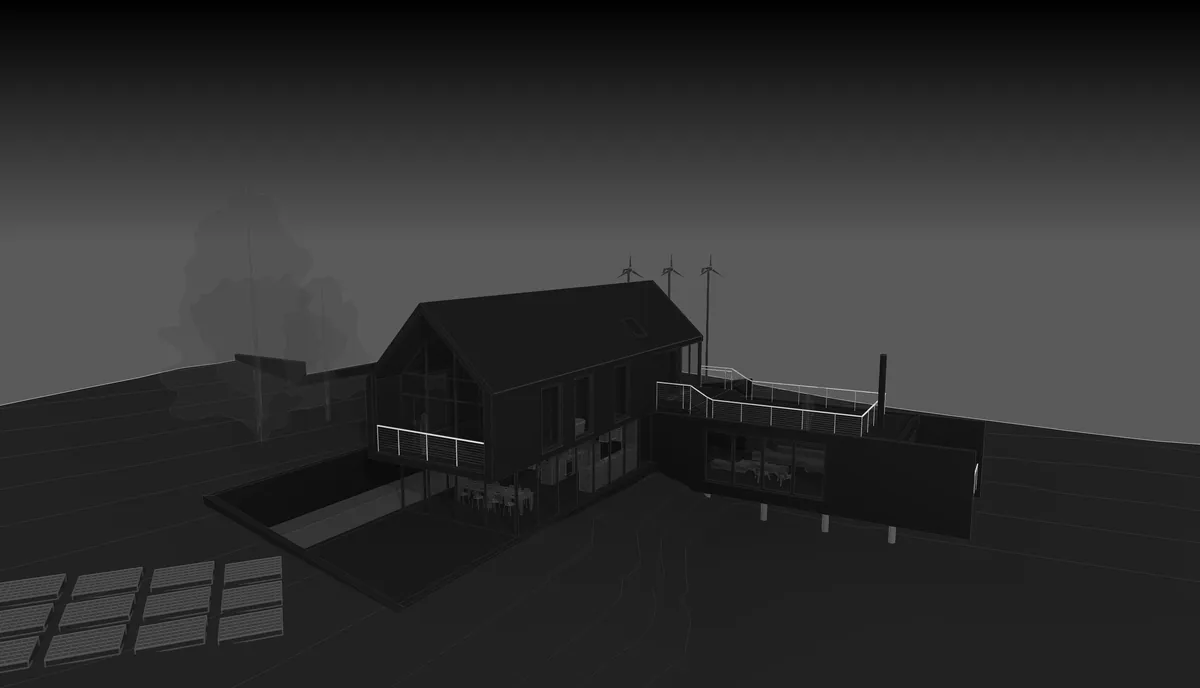
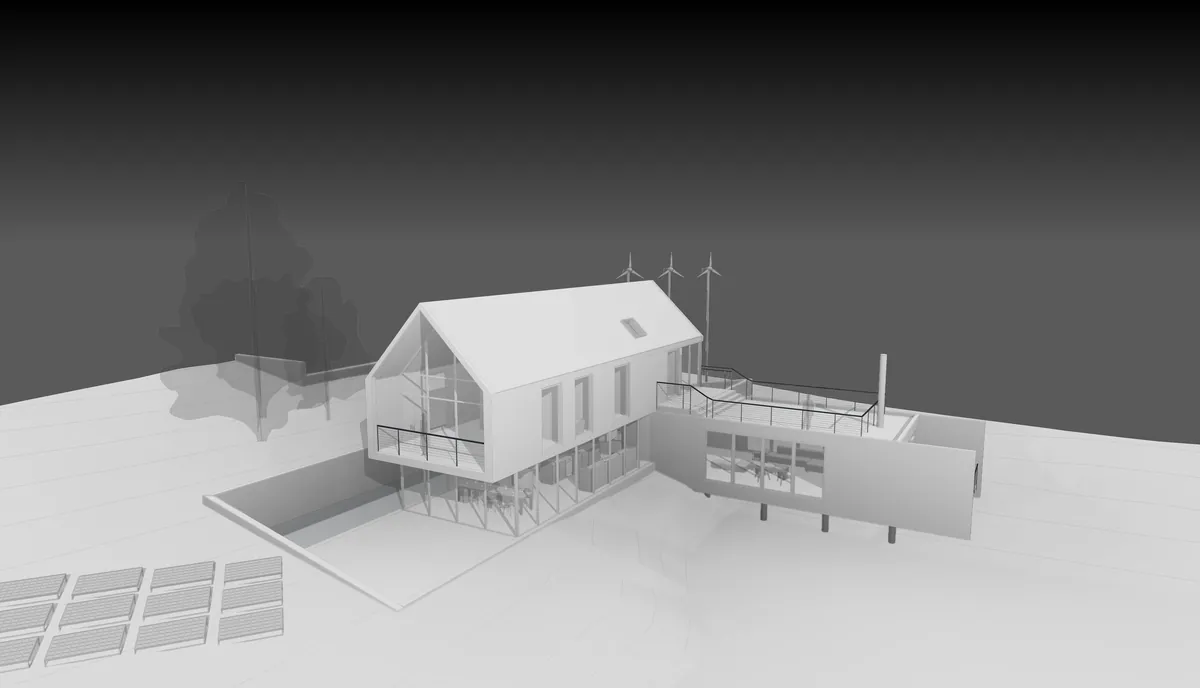
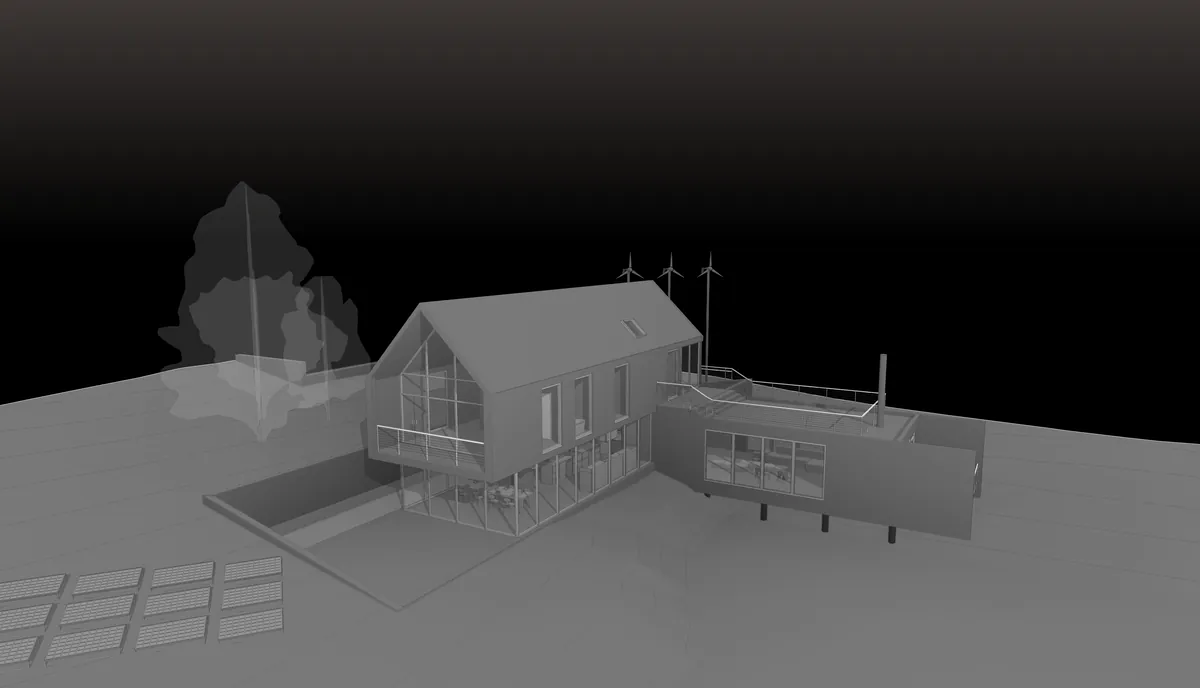
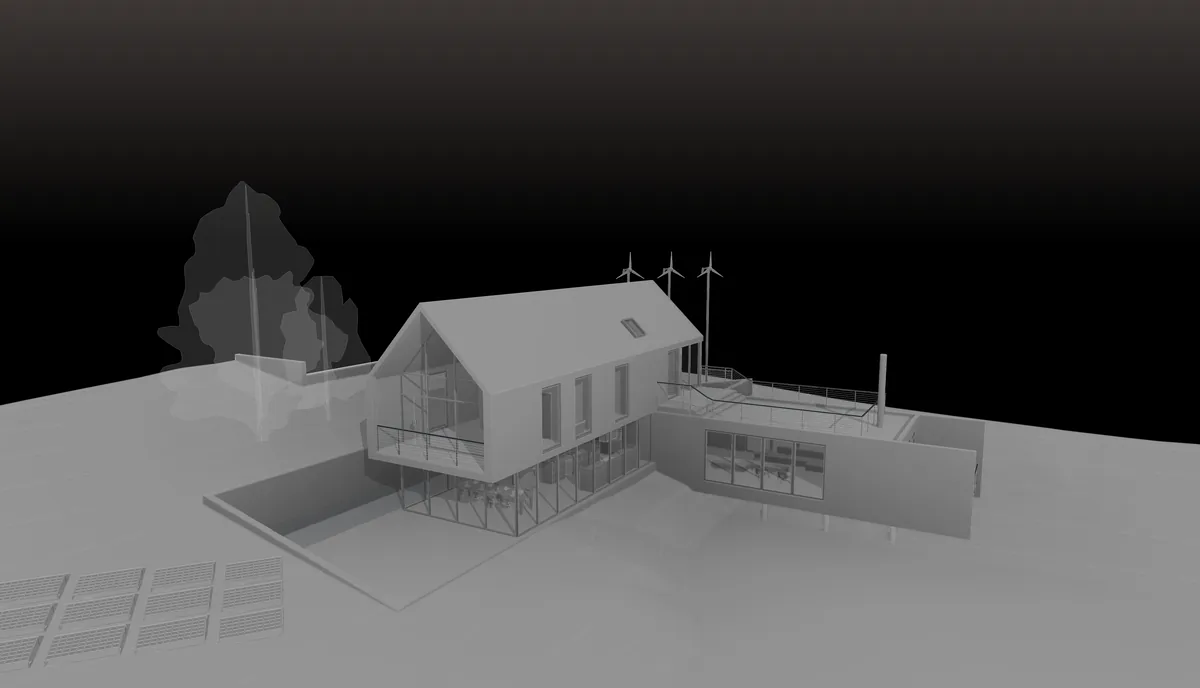
A visual language of your own. The native walkthrough hands you the Revit view as it is, and the Revit view looks the same in every studio in the world. With TRARO VIZ you define the color, line weight and transparency of every group of elements, save it as a Signature and apply it to all your views — 3D and 2D — or turn it into a native Revit view template.
What is TRARO · How it works with D5 Render and Enscape · All 15 movements, one by one